Crafting with Recyclables: Turning Trash into Treasure
Introduction: Why Recycle and Craft?
I absolutely love crafting with recyclables because it allows me to transform ordinary household items into something beautiful and useful. Not only does it save money, but it also helps reduce waste and promotes sustainability. Recycling and crafting go hand in hand, as they both contribute to a greener and more eco-friendly lifestyle.
By repurposing items that would otherwise end up in the trash, we can unleash our creativity and create unique and personalized crafts. Whether it’s turning plastic bottles into vases, cardboard into picture frames, tin cans into lanterns, or paper rolls into organizers, the possibilities are endless.
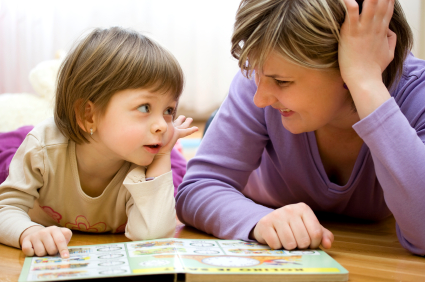
Crafting with recyclables is not only good for the environment, but it’s also a fantastic way to engage in a fun and fulfilling activity. It’s a chance to spend quality time with family and friends, especially children who can learn about the importance of recycling while exploring their creativity.
Getting Started: Essential Supplies and Tools
To get started with crafting using recyclables, you’ll need a few essential supplies and tools. Don’t worry, you don’t have to break the bank – many of these items can be found around the house or purchased inexpensively.
Here are some of the supplies and tools you’ll need:
Recyclables: Collect various recyclable items such as plastic bottles, cardboard boxes, tin cans, and paper rolls. Remember to clean and dry them before using them in your crafts.
Crafting Supplies: Stock up on basic crafting supplies like glue, scissors, paint, paintbrushes, markers, and colored pencils. These will come in handy for decorating and assembling your recycled crafts.
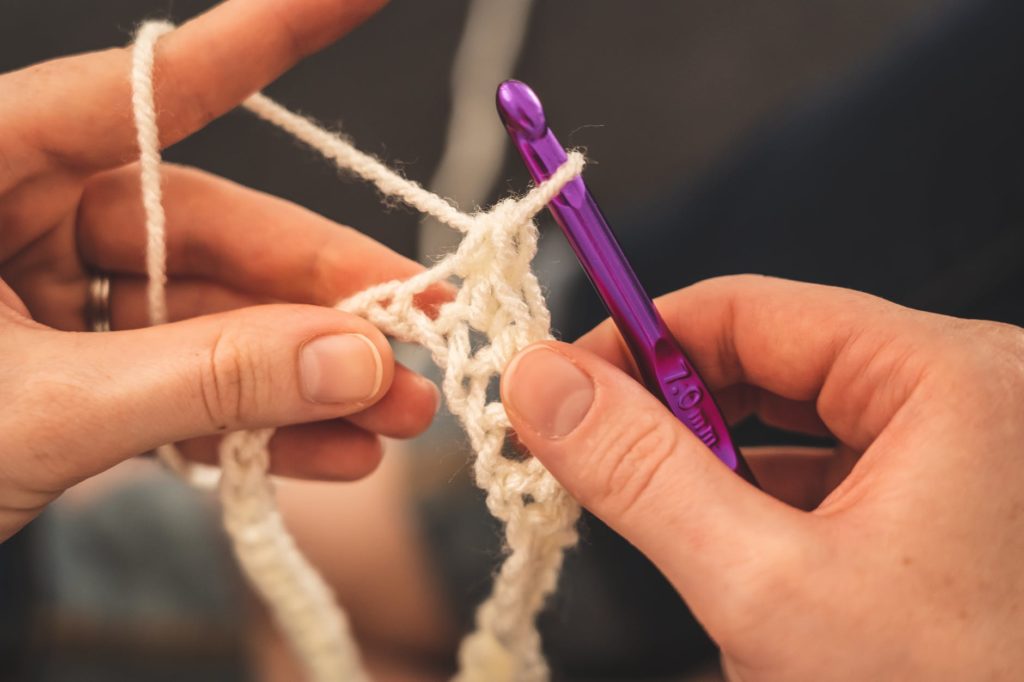
Additional Materials: Depending on the specific craft project, you might need additional materials such as ribbons, beads, buttons, yarn, or fabric scraps. These materials can add a personal touch and make your crafts even more unique.
Safety Tools: When working with certain recyclables or tools, it’s important to prioritize safety. Keep a pair of gloves, safety goggles, and a cutting mat nearby to protect yourself during the crafting process.
By gathering these essential supplies and tools, you’ll be well-prepared to dive into the world of recycled crafts. Remember, there’s no right or wrong way to craft with recyclables – let your imagination run wild and have fun with it!
Now that we have our supplies ready, let’s explore some creative ideas for crafting with recyclables. Turn trash into treasure and create beautiful and functional crafts that you can proudly display in your home or give as thoughtful handmade gifts. Check out our article on homemade craft ideas for more inspiration!
Creative Ideas for Recyclables
When it comes to crafting with recyclables, the possibilities are endless. Transforming trash into treasure not only helps the environment but also allows you to unleash your creativity. Here are some exciting ideas for turning recyclables into unique crafts:
Plastic Bottle Crafts
Plastic bottles can be repurposed into a wide range of creative projects. From flower vases to bird feeders, the versatility of plastic bottles makes them a popular choice for recycled crafts. With a little imagination and some basic crafting supplies, you can transform ordinary plastic bottles into extraordinary works of art.
| Plastic Bottle Craft | Materials Needed |
|---|---|
| Flower Vase | Plastic bottle, acrylic paint, paintbrush, scissors, decorative materials (optional) |
| Bird Feeder | Plastic bottle, wooden dowels, birdseed, string, scissors |
For detailed step-by-step instructions on creating these plastic bottle crafts and more, visit our article on homemade craft ideas.
Cardboard Creations
Cardboard, often found in packaging, can be repurposed into fun and functional crafts. Whether you’re looking to create a DIY picture frame or a storage box, cardboard is a versatile material that is readily available. With a few basic tools and some craft supplies, you can transform cardboard into unique and personalized creations.
| Cardboard Craft | Materials Needed |
|---|---|
| Picture Frame | Cardboard, ruler, craft knife, adhesive, decorations (optional) |
| Storage Box | Cardboard, ruler, craft knife, adhesive, decorative paper or fabric |
To explore more cardboard craft ideas and find step-by-step tutorials, check out our article on diy home decor crafts.
Tin Can Transformations
Don’t throw away those empty tin cans! They can be repurposed into stylish and functional crafts. Tin cans can be transformed into pencil holders, planters, or even lanterns. With a touch of paint and some creativity, you can give these cans a new lease on life.
| Tin Can Craft | Materials Needed |
|---|---|
| Pencil Holder | Tin can, acrylic paint, paintbrush, ruler, scissors |
| Planter | Tin can, soil, plant of choice, hammer and nails (for drainage holes) |
For more tin can craft ideas and step-by-step instructions, visit our article on recycled crafts for kids.
Paper Roll Projects
Paper rolls, such as toilet paper rolls or paper towel rolls, can be transformed into unique crafts that are both eco-friendly and budget-friendly. These humble cardboard tubes can be turned into wall art, napkin rings, or even organizers. With a little bit of cutting, painting, and embellishing, you can create beautiful crafts from something as simple as a paper roll.
| Paper Roll Craft | Materials Needed |
|---|---|
| Wall Art | Paper rolls, acrylic paint, paintbrush, scissors, adhesive |
| Napkin Rings | Paper rolls, decorative paper or fabric, scissors, adhesive |
To discover more paper roll craft ideas and get step-by-step tutorials, visit our article on upcycled craft ideas.
With these creative ideas, you can turn recyclables into unique and personalized crafts. Remember to involve your kids in the process to promote eco-consciousness and creativity. Let your imagination run wild and explore the world of crafting with recyclables. For more craft inspiration, check out our articles on handmade gift ideas and budget-friendly craft ideas. Happy crafting!
Step-by-Step Tutorials
If you’re ready to get hands-on with your recyclables, here are some step-by-step tutorials to guide you through creating beautiful crafts out of items that would otherwise be thrown away. Get ready to turn trash into treasure!
Plastic Bottle Vase
Transform a plastic bottle into a stunning vase that adds a touch of creativity to any room. Follow these simple steps:
Gather your materials: You’ll need an empty plastic bottle, scissors, acrylic paint, a paintbrush, and any decorative items you’d like to add, such as ribbon or beads.
Prepare the bottle: Remove any labels and clean the bottle thoroughly. Cut off the top portion of the bottle, leaving the bottom part to serve as the vase.
Paint the bottle: Use acrylic paint to cover the bottle in your desired color. You can experiment with different patterns or create a solid color base.
Decorate: Once the paint is dry, let your creativity shine by adding decorative elements. Wrap a ribbon around the neck of the vase or glue beads onto the surface.
Add flowers: Fill your newly created vase with fresh or artificial flowers to complete the look.
Cardboard Picture Frame
Give your cherished photos a unique touch by creating a picture frame out of cardboard. Follow these steps to make your own:
Gather your materials: Collect cardboard, a ruler, a craft knife or scissors, glue or tape, and decorative items like paint, markers, or stickers.
Measure and cut: Determine the size of your frame and cut out two identical rectangles from the cardboard. Make sure one rectangle has a smaller cutout in the middle for the photo.
- Decorate: Let your creativity flow by decorating the cardboard frames with paint, markers, or stickers. Add personal touches that reflect your style or the theme of the photo.
Assemble: Place the rectangle with the cutout on top of the solid rectangle and align the edges. Secure the two pieces together using glue or tape.
Insert your photo: Carefully slide your photo into the cutout, ensuring it fits perfectly within the frame.
Tin Can Lantern
Create a cozy ambiance with a tin can lantern that adds a warm glow to your space. Follow these steps to bring your tin can lantern to life:
Gather your materials: Collect empty tin cans, a hammer and nails, wire or string, tea light candles, and optional decorative items like paint or adhesive tape.
Prep the can: Clean the tin can thoroughly, removing any labels or residue. Fill it with water and freeze overnight. This will make it easier to punch holes in the can.
Design your pattern: Plan your lantern’s design by drawing dots or lines on the frozen can. These will serve as guides for where you’ll create the holes.
Punch the holes: Use a hammer and nails to carefully create holes along the drawn lines or patterns. Be sure to work on a sturdy surface and wear protective gloves.
Add finishing touches: If desired, paint the can or wrap it with adhesive tape to enhance its appearance. Insert a tea light candle into the can and light it up for a cozy glow.
Paper Roll Organizer
Turn empty paper rolls into a practical and eco-friendly organizer. Follow these steps to create your own paper roll organizer:
Gather your materials: Collect empty paper rolls, a pair of scissors, glue or tape, and decorative materials such as wrapping paper, paint, or markers.
Prepare the paper rolls: Flatten the paper rolls by pressing them with your hand or using a ruler. Cut the rolls into desired lengths based on your organizational needs.
Decorate the rolls: Use wrapping paper, paint, or markers to add color and patterns to the flattened paper rolls. Get creative and make each roll unique.
Assemble the organizer: Once the decorated rolls are dry, arrange them in a row or any configuration you prefer. Use glue or tape to secure them together.
Organize your items: Now you can use your paper roll organizer to store pens, pencils, makeup brushes, or any small items that need organization.
With these step-by-step tutorials, you can transform recyclables into beautiful and functional crafts. Get creative, have fun, and make the most out of materials that would otherwise end up in the trash. Don’t forget to check out our other articles on homemade craft ideas for more inspiration!
Tips and Tricks for Successful Recycled Crafts
Creating crafts with recyclables is not only fun and creative, but it also helps reduce waste and promotes a greener lifestyle. To ensure successful and enjoyable recycled crafts, here are some tips and tricks to keep in mind.
Preparing Recyclables for Crafting
Before starting your recycled craft project, it’s important to properly prepare the recyclable materials. Here are a few steps to follow:
Clean and dry: Make sure to clean any recyclable items, such as plastic bottles or tin cans, before using them for crafting. Remove any labels, residue, or dirt to ensure a clean surface.
Sort and organize: Separate recyclables into different categories, such as plastic, cardboard, tin, or paper. This will make it easier to find the materials you need for specific projects.
Inspect for damage: Check the recyclables for any damage that may affect their usability. For example, ensure that there are no sharp edges or cracks in plastic bottles or cardboard that is not too bent or folded.
By properly preparing your recyclables, you can ensure that they are safe to use and will contribute to the success of your craft projects.
Safety Considerations
When working with recyclables, it’s important to prioritize safety. Here are a few safety considerations to keep in mind:
Protective gear: Depending on the craft project, consider wearing gloves, goggles, or a dust mask to protect yourself from any potential hazards.
Sharp objects: Be cautious when handling sharp objects, such as scissors or utility knives, to avoid accidental injuries. Always cut away from yourself and keep sharp objects out of reach of children.
Heat sources: If your craft involves heat sources, like glue guns or heat guns, be mindful of the hot surfaces and take precautions to avoid burns.
By taking these safety measures, you can enjoy your crafting experience while minimizing the risk of accidents.
Embracing Imperfections
Recycled crafts often have a unique charm to them, and part of the beauty lies in their imperfections. Here are a few reasons to embrace the imperfections of your recycled crafts:
Uniqueness: Each recycled item has its own history and character, which can add a special touch to your craft projects. Embracing imperfections can make your creations one-of-a-kind.
Learning experience: Recycled crafts provide an opportunity to learn and experiment. Don’t be discouraged if your project doesn’t turn out exactly as planned. Use any mistakes or unexpected results as a learning experience for future projects.
Eco-friendly mindset: Imperfections in recycled crafts remind us of the materials’ previous lives and the positive impact of repurposing and upcycling. They serve as a reminder of our commitment to sustainability.
Remember, the joy of crafting with recyclables comes from the creative process and the satisfaction of transforming trash into treasure. So, don’t be afraid to embrace the unique qualities of your recycled crafts.
By following these tips and tricks, you can enhance your crafting experience and create amazing crafts with recyclables. So gather your materials, let your creativity flow, and enjoy the process of turning trash into beautiful treasures.
Showcasing Your Recycled Crafts
After putting your creativity to work and transforming recyclables into beautiful crafts, it’s time to showcase your creations. Displaying your recycled crafts allows you to appreciate your hard work and inspire others to get involved in crafting with recyclables. Here are some ideas for displaying, sharing, and inspiring others with your recycled crafts.
Display Ideas
Finding the perfect way to display your recycled crafts can elevate their visual impact and draw attention to your creative efforts. Consider these display ideas:
Wall Galleries: Create a gallery wall by hanging your crafts in a visually appealing arrangement. Mix and match different types of crafts to add variety and interest.
- Shelves and Bookcases: Use shelves or bookcases to showcase your crafts. Arrange them in an eye-catching manner, grouping similar crafts together or creating themed displays.
Tabletop Displays: Arrange your crafts on a tabletop or mantel for a charming and accessible showcase. Use props like plants, candles, or decorative items to enhance the overall presentation.
Shadow Boxes: Shadow boxes are a great way to display smaller crafts, such as jewelry or delicate paper crafts. Arrange them creatively within the box, and hang or place the box on a wall or tabletop.
Remember, the goal is to create a display that captures attention and highlights the unique features of your recycled crafts.
Sharing Your Creations
Sharing your recycled crafts with others is a wonderful way to spread inspiration and encourage others to embrace sustainable crafting. Consider these ways to share your creations:
Social Media: Share photos of your crafts on social media platforms like Instagram, Facebook, or Pinterest. Write engaging captions that describe the process and highlight the eco-friendly aspects of your crafts. Don’t forget to use relevant hashtags to reach a wider audience.
Blogs and Websites: If you have a blog or website, create dedicated posts to showcase your recycled crafts. Include detailed descriptions, step-by-step tutorials, and high-quality photos to inspire your readers. You can also include links to other related craft ideas or articles on your site, such as homemade craft ideas or upcycled craft ideas.
Crafting Communities: Join online crafting communities or forums where you can share your recycled crafts with like-minded individuals. Engage in discussions, provide tips and insights, and receive feedback and support from fellow crafters.
Inspiring Others to Recycle and Craft
By showcasing your recycled crafts, you have the power to inspire others to embrace recycling and sustainable crafting. Here are some ideas to inspire others:
- Tutorials and DIY Guides: Share tutorials and DIY guides for your recycled crafts. Provide clear instructions, step-by-step photos, and helpful tips to encourage others to try their hand at crafting with recyclables.
- Workshops and Classes: Consider hosting workshops or classes where you can teach others how to create crafts from recyclables. Share your knowledge, techniques, and passion for upcycling to empower others to make a positive impact on the environment.
- Collaborations: Collaborate with local schools, community centers, or environmental organizations to create awareness about recycling and sustainable crafting. Offer to share your expertise, host craft demonstrations, or participate in eco-friendly events.
Through these efforts, you can foster a community of eco-conscious crafters and make a difference by reducing waste and promoting creativity.
Now that you have some ideas for showcasing, sharing, and inspiring others with your recycled crafts, it’s time to let your creativity shine. Remember, your crafts are not just beautiful creations, but also symbols of your commitment to the environment and sustainable living. Keep crafting, sharing your passion, and encouraging others to join the recycled crafting revolution!