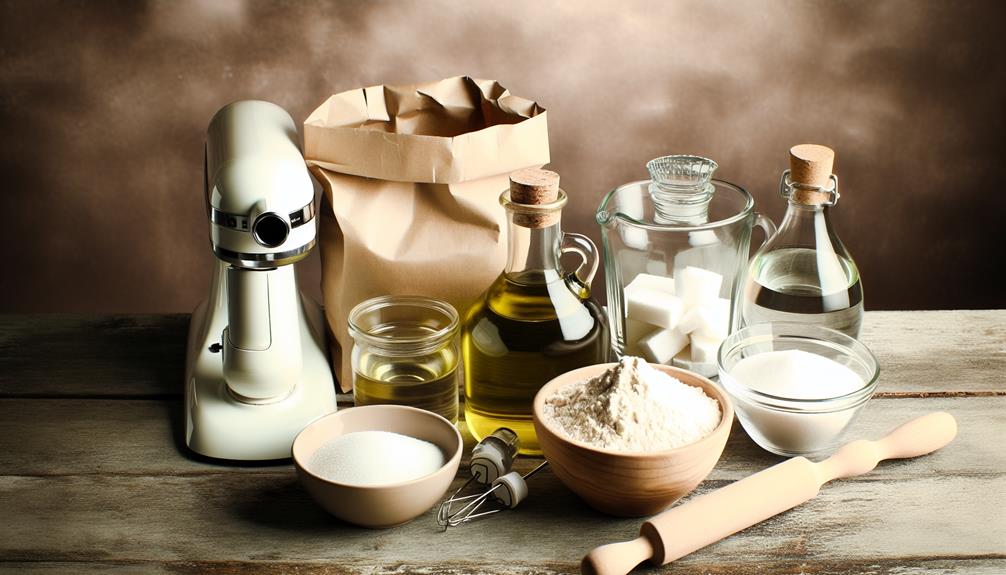
Using my KitchenAid mixer to make pizza dough has simplified the process. I gather quality ingredients – yeast, warm water, flour, salt, and olive oil, and I’m halfway there.
Dissolving yeast in warm water, I gradually add flour, salt, and olive oil into the mix.
My KitchenAid does the heavy lifting, kneading the dough for about 8 minutes. Afterward, I let the dough rest for about an hour. The dough rises beautifully, ready for the final steps. Baking my very own pizza comes next and it’s a joy to see the result. Stick around, and we’ll investigate each step together.

Key Takeaways
- Using a KitchenAid mixer with a dough hook simplifies the kneading process for pizza dough.
- Start kneading at a low speed to mix the flour and yeast, then gradually increase the speed for about 8 minutes.
- High-quality ingredients like yeast, warm water, flour, salt, and olive oil are essential for creating balanced pizza dough.
- After kneading, let the dough rest in a warm place for around an hour to allow the yeast to rise and double the dough’s size.
- Once the dough has risen, it can be stretched and topped as desired, then baked for 12-15 minutes to create the perfect pizza crust.
Gathering Your Ingredients
Before starting the dough-making process, gather your ingredients such as yeast, warm water, flour, salt, and olive oil, ensuring they’re of high quality and at the right temperature for best results. It’s all about balance in pizza dough creation. Even a slight misstep could hinder the dough’s ability to rise properly. So, accurate measurement is critical.
Using a KitchenAid mixer simplifies the kneading process, but it’s important to organize your ingredients and tools before starting. You’ll be handling flour and water, which can get messy, and you don’t want to be scrambling for the yeast or olive oil in the middle of the process. Have everything within easy reach to streamline the preparation.
The quality of your ingredients directly impacts the taste and texture of your pizza. I always make sure to use high-quality flour, fresh yeast, and premium olive oil. The water should be warm, not hot, to activate the yeast without killing it. And don’t forget the salt. It’s not just for flavor – salt also strengthens the dough, making it easier to handle and perfect for a delicious, homemade pizza.
Preparing the Dough Mixture

With all the ingredients at hand, let’s get to the exciting part – preparing the dough mixture. To make a good pizza dough, start by dissolving the yeast in some warm water in a bowl. This step is important to wake up the yeast and get it ready to help our dough rise.
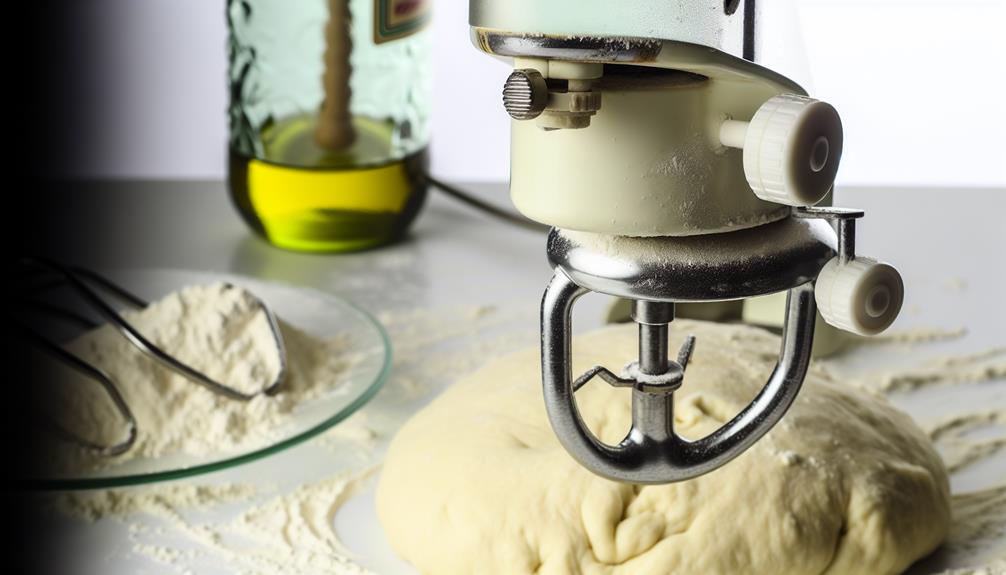
Now, it’s time to employ our trusty KitchenAid mixer. Fix the dough hook attachment. Gradually add the flour, salt, and olive oil into the bowl and dough hook. The mixer does the heavy lifting, combining everything until we’ve a nice, stretchy mixture.
Here’s a quick rundown of the process:
- Dissolve yeast in warm water
- Attach dough hook to KitchenAid mixer
- Gradually add flour, salt, and olive oil
- Mix for about 8 minutes until dough is stretchy
The resulting dough should be smooth and elastic, ready to transform into a crispy, chewy pizza crust. Remember, the dough needs to rest in a warm place for about an hour, where it’ll double in size and develop more flavor. Don’t skip this step; it’s a game-changer for the dough’s texture and taste.
Kneading With Kitchenaid Mixer

After mixing our ingredients, it’s time to let the KitchenAid stand mixer do the kneading, an essential step that guarantees our dough is smooth, elastic, and ready for baking. The dough hook attachment simplifies this process, making the task of kneading homemade pizza dough a breeze.
The secret to an efficient kneading process with the KitchenAid stand mixer is all about the speed. I start with a low speed to incorporate the flour and yeast, then gradually increase it. This method prevents the dough from tearing and helps develop the gluten, essential for that perfect pizza crust.
It’s incredible how the mixer saves me time and effort compared to manual kneading. I simply let it work its magic for about 8 minutes. The result? A well-kneaded dough that’s ready to rise and transform into a delicious pizza crust.
| KitchenAid Stand Mixer Kneading | Notes |
|---|---|
| Start at low speed | To incorporate flour and yeast |
| Gradually increase speed | Prevents dough from tearing |
| Knead for 8 minutes | Develops gluten for pizza crust |
Letting the Dough Rise
Once the kneading is done, it’s time to give importance its due as we let the dough rise in a greased bowl, covered, in a warm spot for about an hour. This is a critical step in our pizza-making journey as it allows the yeast in the warm water to work its magic, resulting in a dough that’s doubled in size.
Here are a few tips to make this process a success:
- Always use a greased bowl when you let the dough rise. It prevents the dough from sticking and makes it easier to handle.
- Cover the bowl with a damp cloth. This helps keep the dough moist and prevents it from drying out.
- Find a warm place in your home for the dough to rise. The warmer the spot, the better the yeast will work.
- Be patient and let the dough rise for at least 45 minutes. Don’t rush this step as it directly affects the texture of your pizza crust.
Baking Your Perfect Pizza
Now that our dough has doubled in size, let’s move on to shaping and baking our perfect pizza. Our pizza dough recipe involves a few simple steps. First, we need to stretch the dough. Using our KitchenAid, we’ve kneaded it for 8 minutes, alternating between whole wheat and white wheat to achieve a balanced flavor and texture. Stretching the dough is key to creating a thin crust pizza, a favorite among many.
Next, we add toppings. I’m a fan of homemade pizza because you can customize it to your taste. Whether you’re a classic mozzarella and pepperoni lover, or you’re adventurous with prosciutto, fig, and goat cheese, the choice is yours.
The final step is baking. The pizza should be in the oven for 12-15 minutes to achieve that perfect crust. Be patient; it’s worth the wait. Once it’s ready, allow it to cool before diving in. This not only prevents you from burning your mouth, but it also gives the flavors time to settle.
And there you have it, your perfect pizza, courtesy of your own kitchen aid!
Frequently Asked Questions
Is the Kitchenaid Mixer Good for Pizza Dough?
Absolutely, I’ve found my KitchenAid mixer incredibly effective for achieving perfect dough consistency. Its advantages include a durable dough attachment, adjustable speed, easy ingredient integration, and a simple cleanup process. It’s ideal for most pizza dough recipes.
How Long Should Pizza Dough Be Mixed in a Mixer?
I typically mix pizza dough in a mixer for around 5 minutes. This duration guarantees dough elasticity and ideal texture. Overmixing can lead to a tough crust while undermixing might result in a dense one.
Is It Better to Knead Pizza Dough by Hand or Mixer?
I’d say using a mixer is better. It’s efficient, saves kneading time, and improves dough elasticity. Mixer efficiency aids in yeast activation, gluten development, and the fermentation process, resulting in ideal dough texture and rising.
Can You Make Dough in a Kitchenaid Mixer?
Absolutely, I can make dough in a KitchenAid mixer. With the right attachments, speed, and ingredients, it’s efficient. Cleanup’s a breeze, too. Plus, I can tweak recipes and rest the dough for ideal consistency.
Conclusion
Isn’t it amazing how simple it’s to make pizza dough with your Kitchenaid mixer?
It’s all about gathering the right ingredients, preparing the dough mixture, and letting it rise.
Then, you just need to bake it to perfection.
So, next time your pizza cravings hit, why not try making it yourself?
Trust me, once you’ve tasted your homemade pizza, you won’t want anything else!


